Setting up FFS
In this guide, we'll run through the process of getting your project and code editor set up for working on custom power-ups in Fiero.
Step 1: Install VS Code
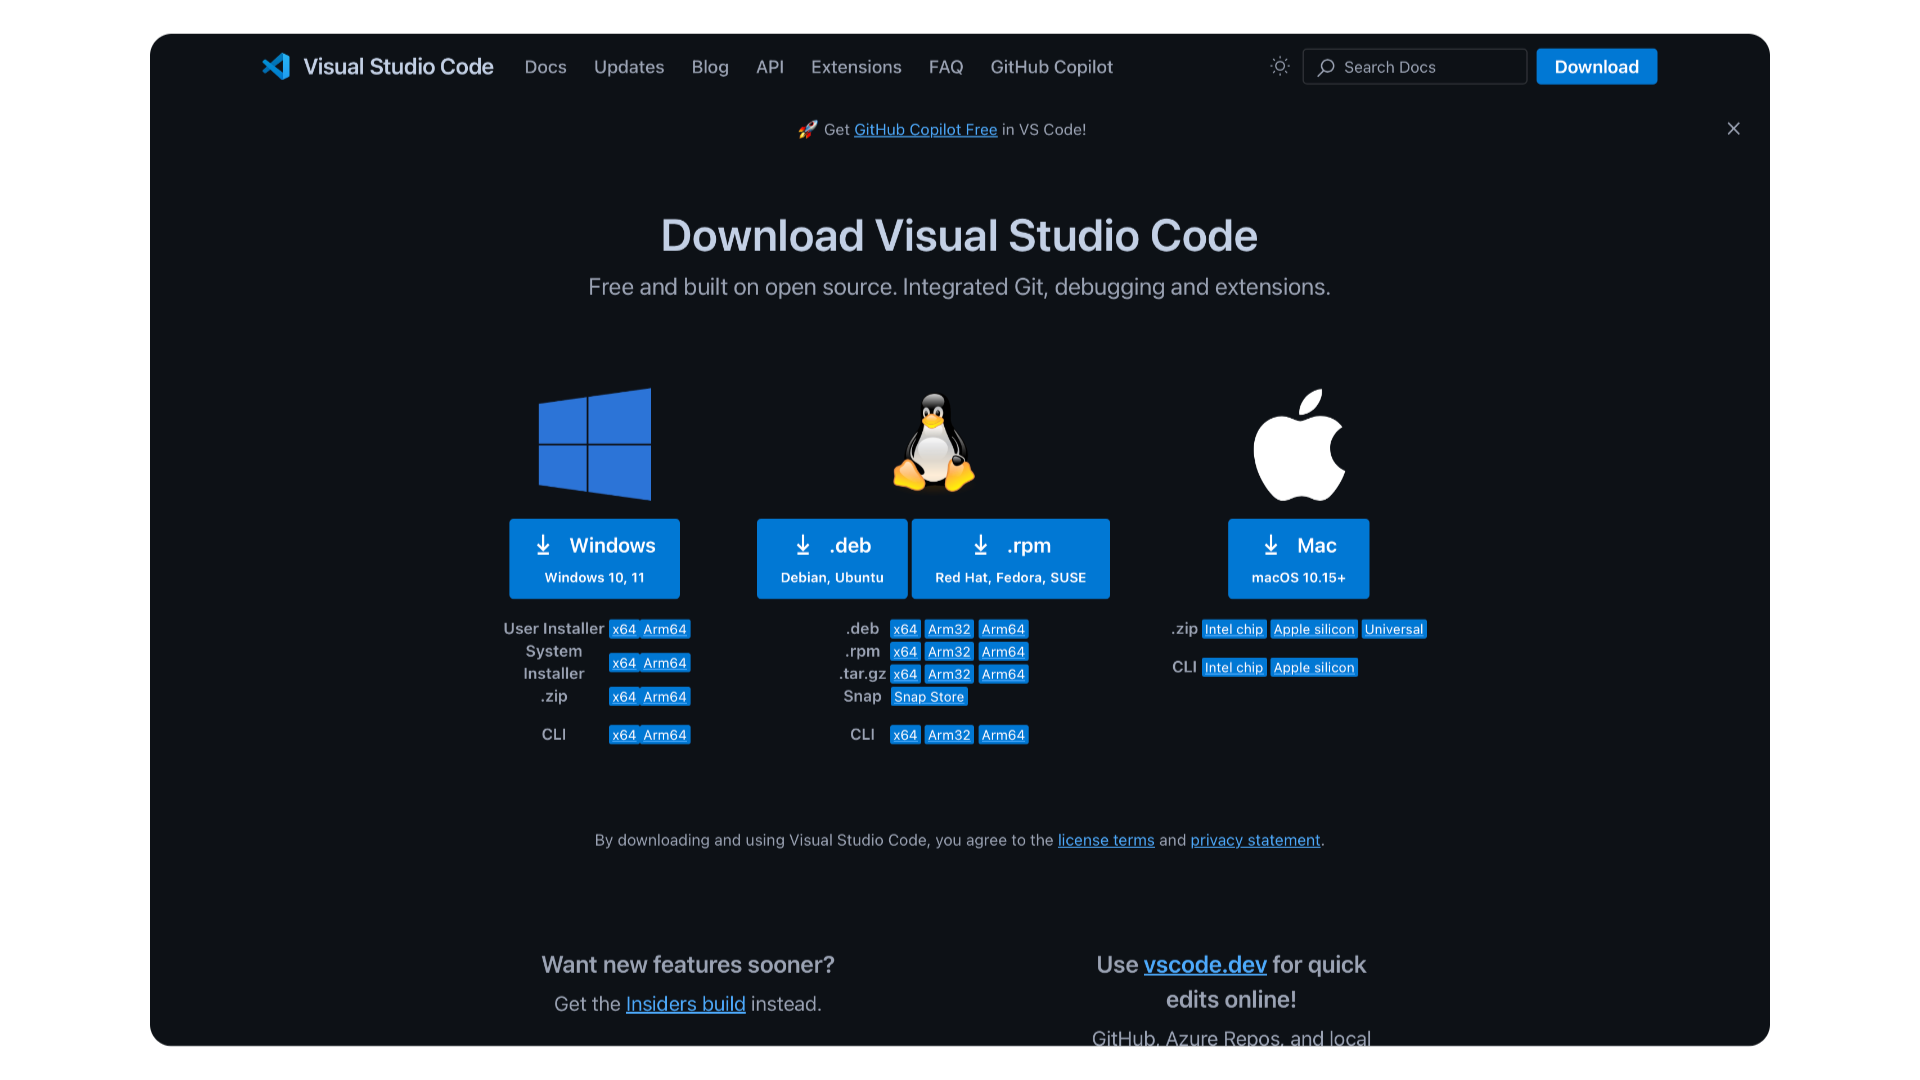
- Go to the official Visual Studio Code website. Currently, the only supported editor is VS Code but we'll be expanding this to cover other editors in the future.
- Click the Download button for your operating system (Windows, macOS, or Linux).
- Install the software by following the on-screen instructions.
Step 2: Install the Fiero extension
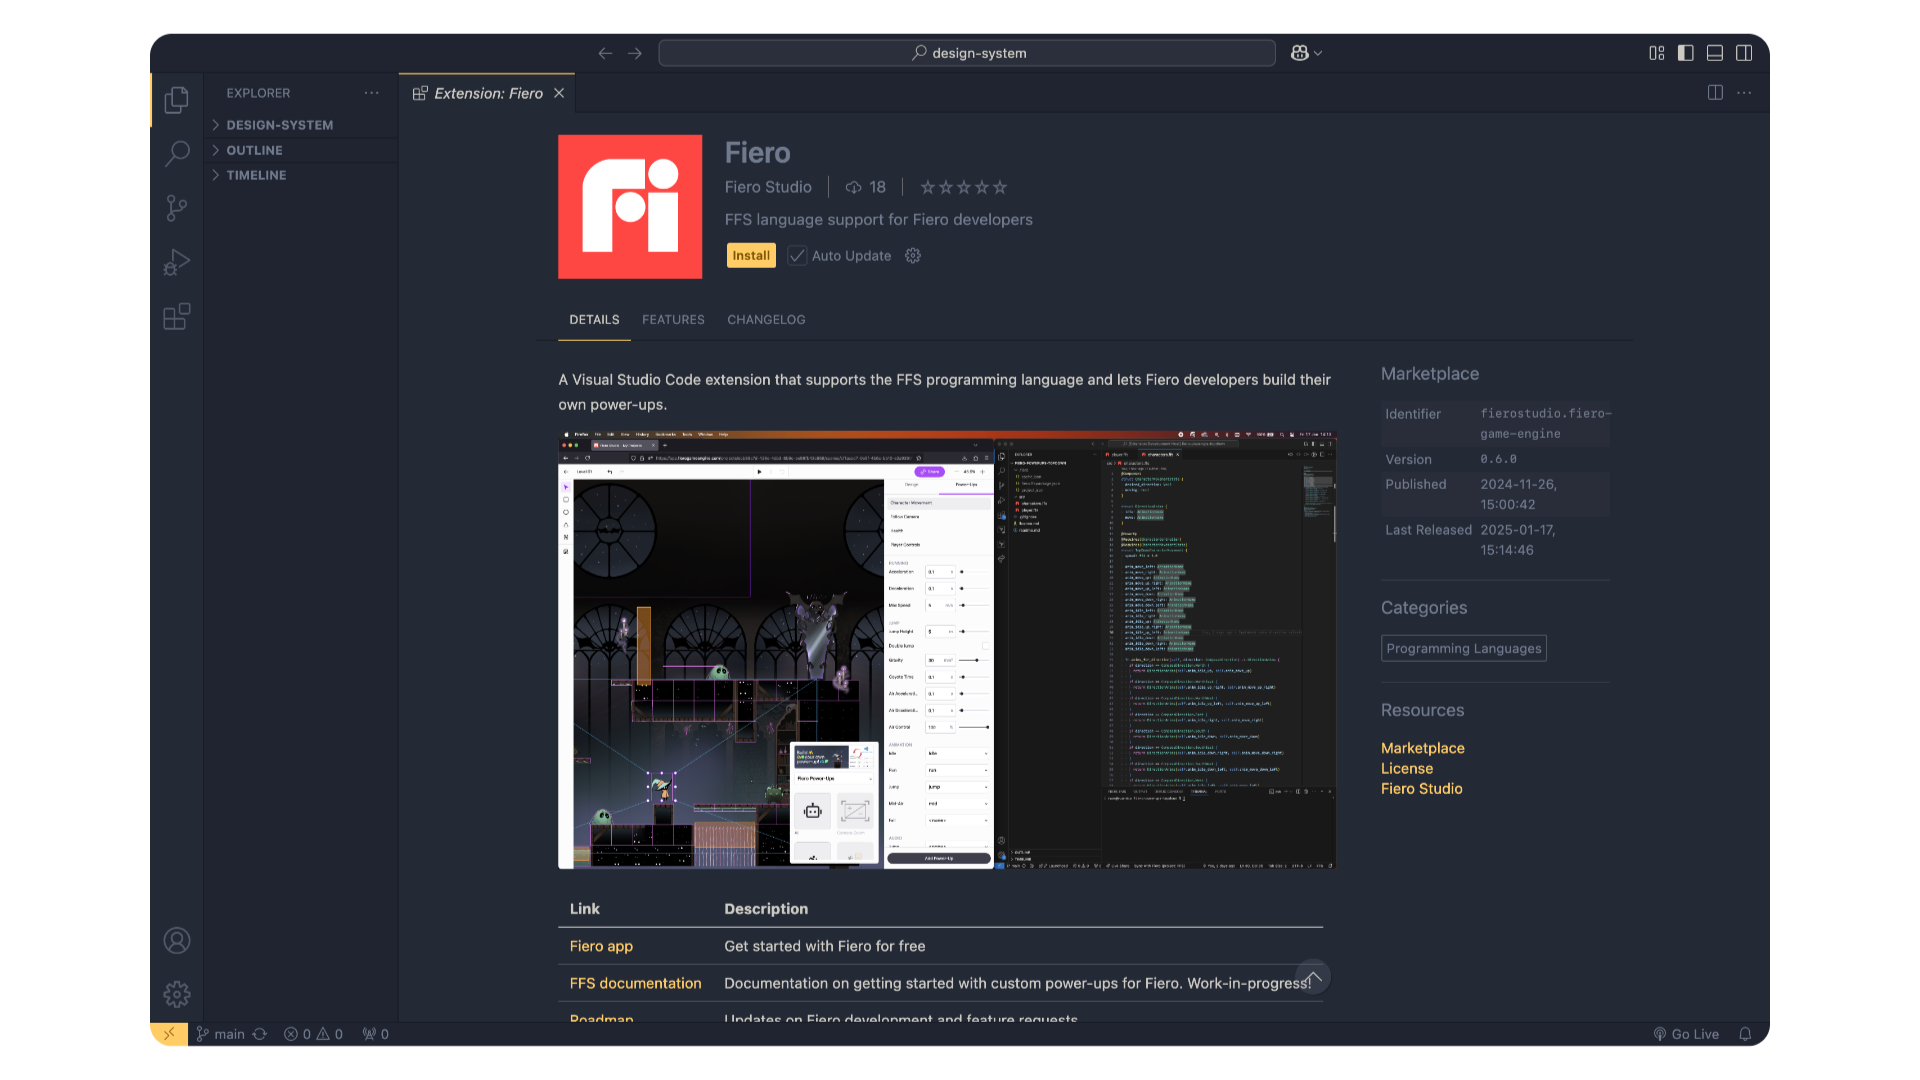
- To use Fiero in VS Code, visit the Fiero extension page on the marketplace.
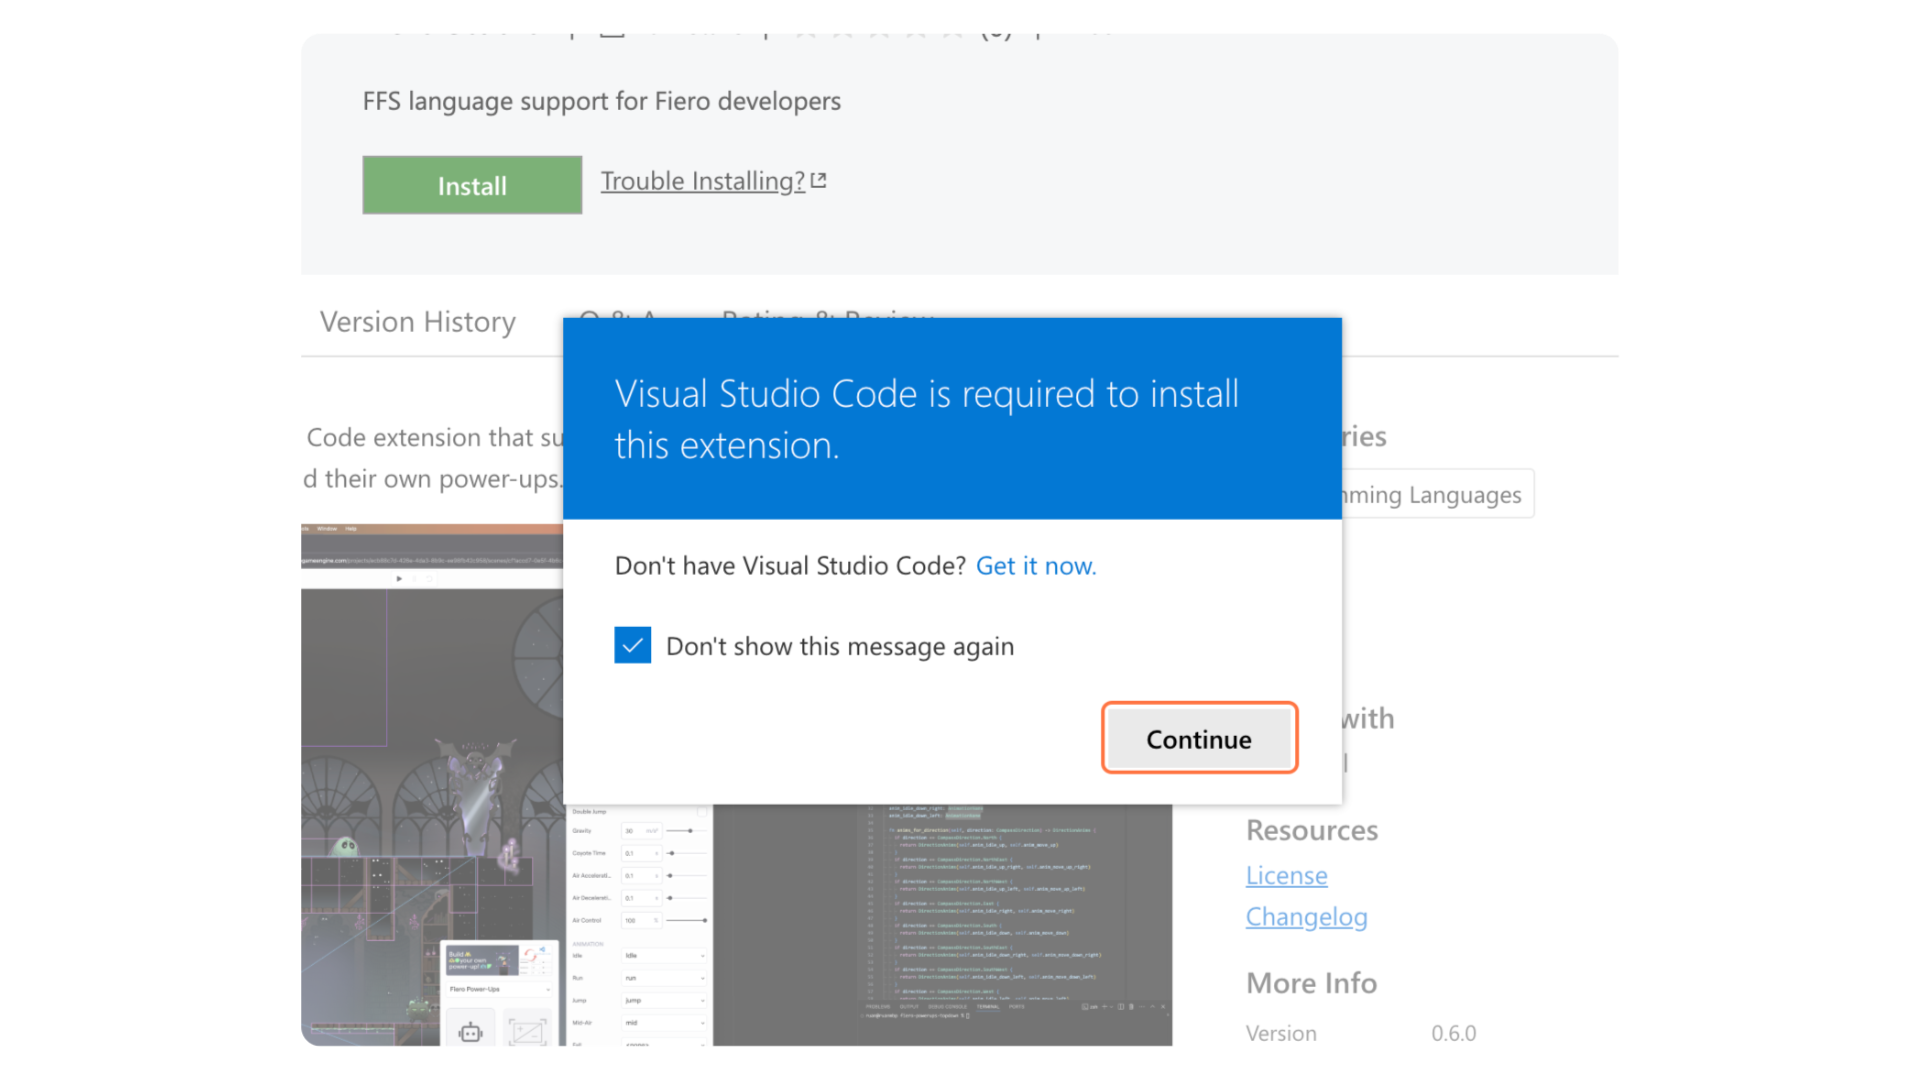
- Click Install on the website, which will automatically open the extension in VS Code.
- If a confirmation pop-up appears in the website, click Continue again to proceed.
- Click Install on the VS Code and wait for the installation to complete, this may take a few seconds.
Once the extension is installed, you're all set to use Fiero in your projects!

Step 3: Create a new folder for your project
- On your computer, create a folder where your project files will be stored.
- Example: Name the folder something like MyFirstProject or FieroProject.
- Keep this folder empty for now.
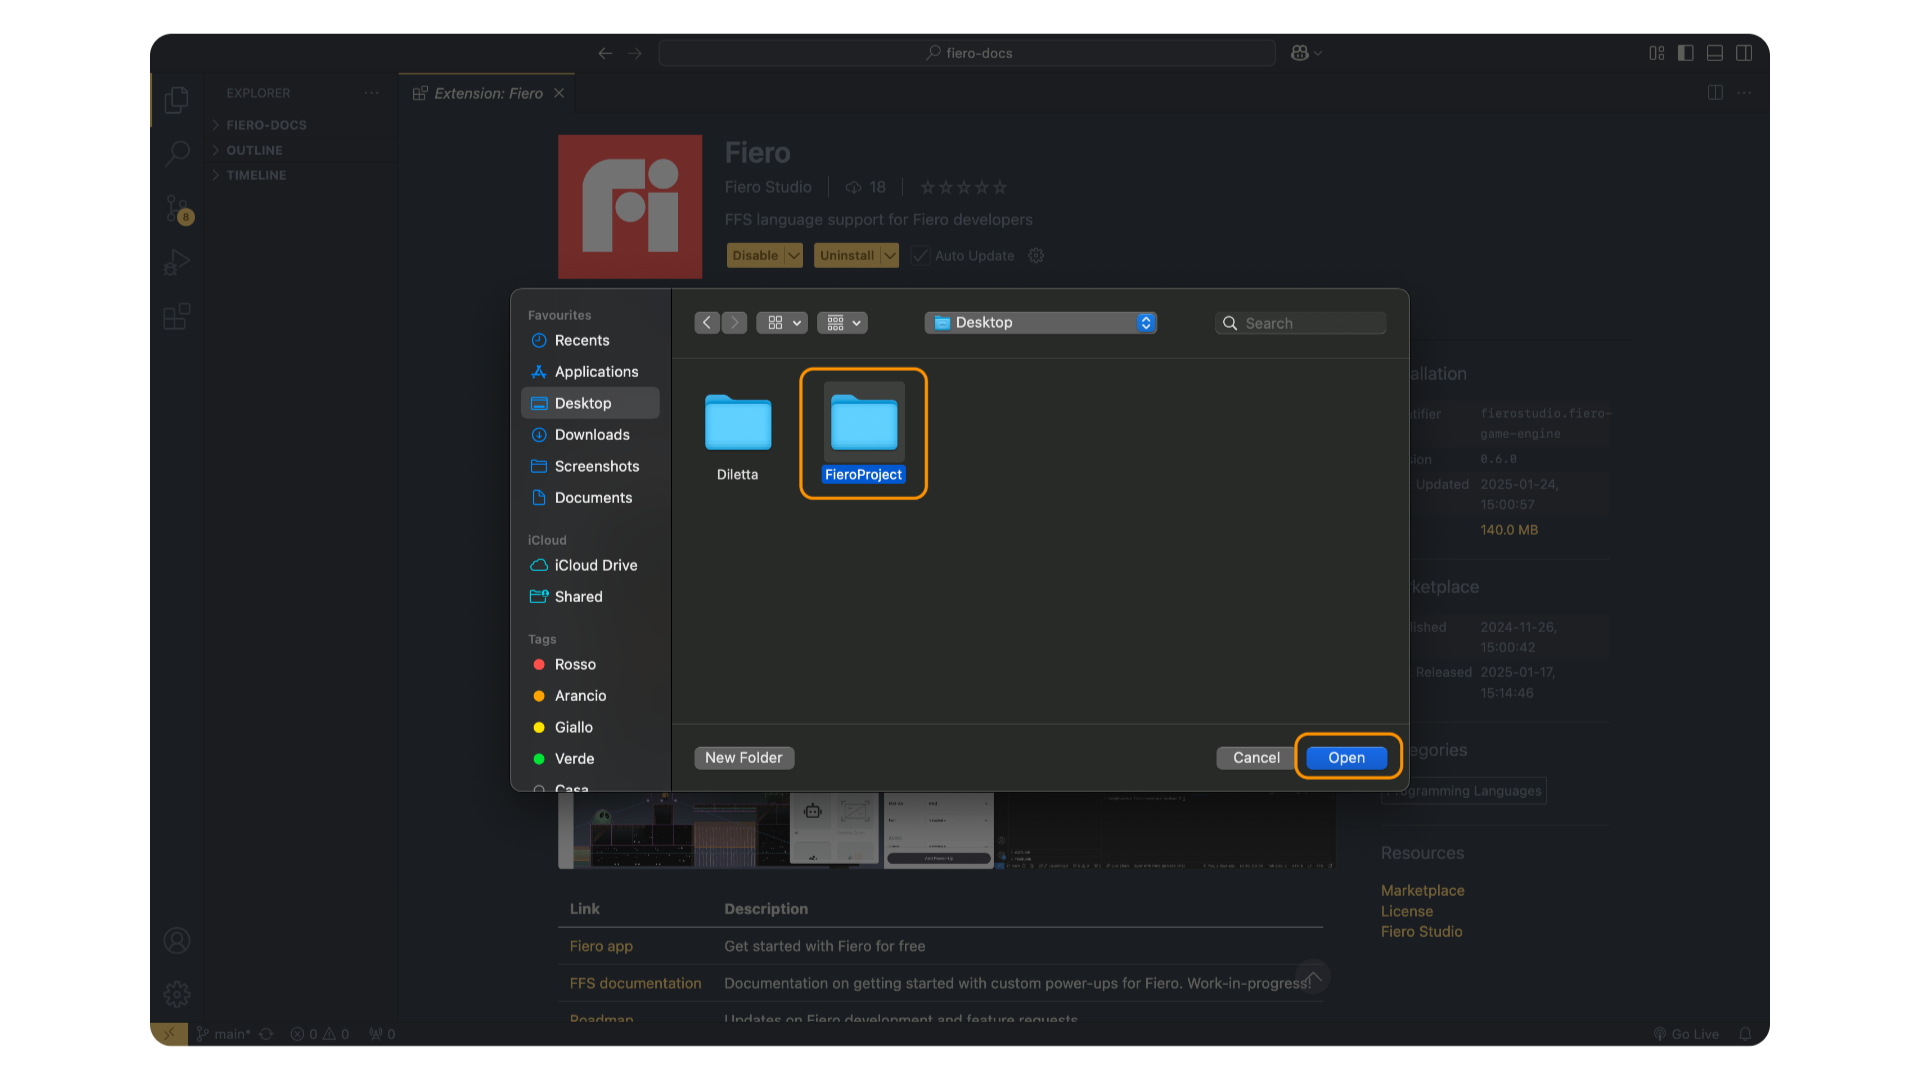
Step 4: Open the folder in VS Code
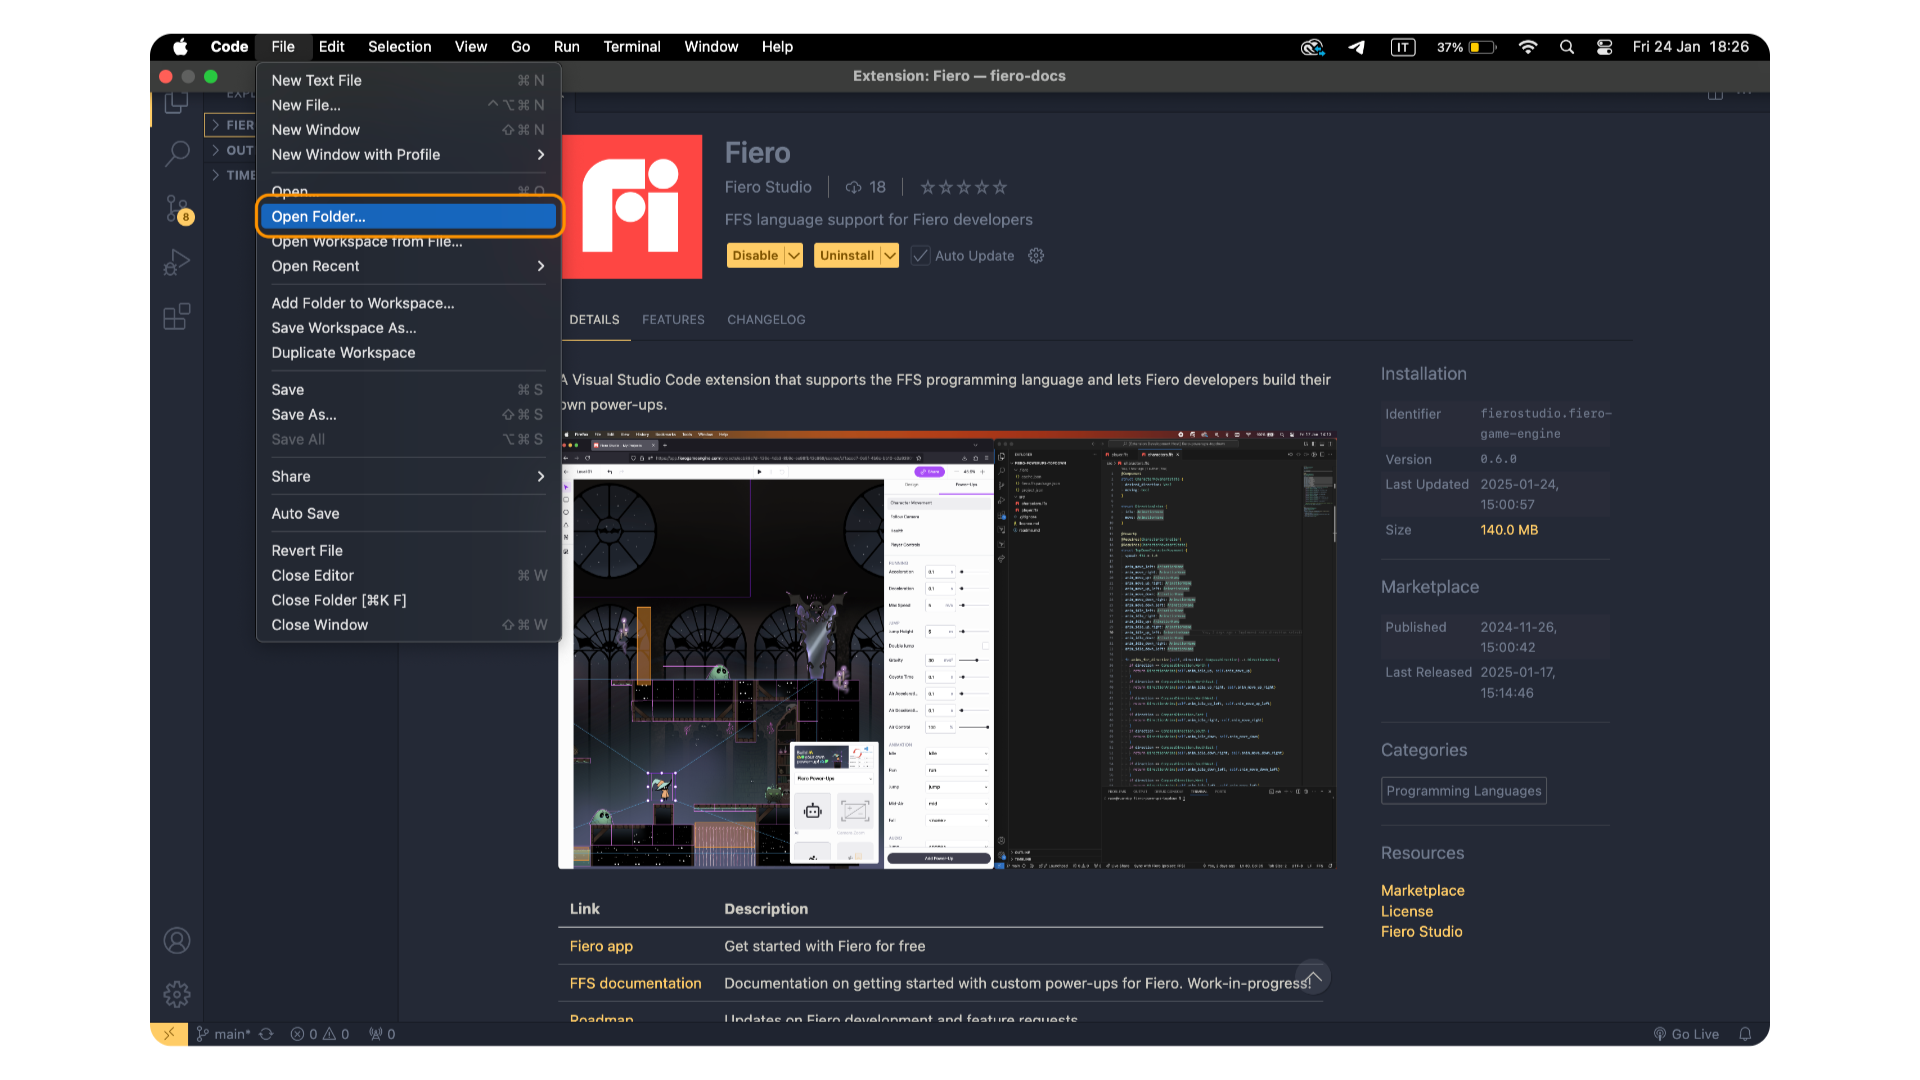
- In VS Code, click on File in the top menu, then select Open Folder (or Open on macOS).
- Navigate to the folder you just created and select it.
- Click OK or Open to load the folder into VS Code.
You'll now see your project folder displayed in the Explorer panel on the left side of the screen.
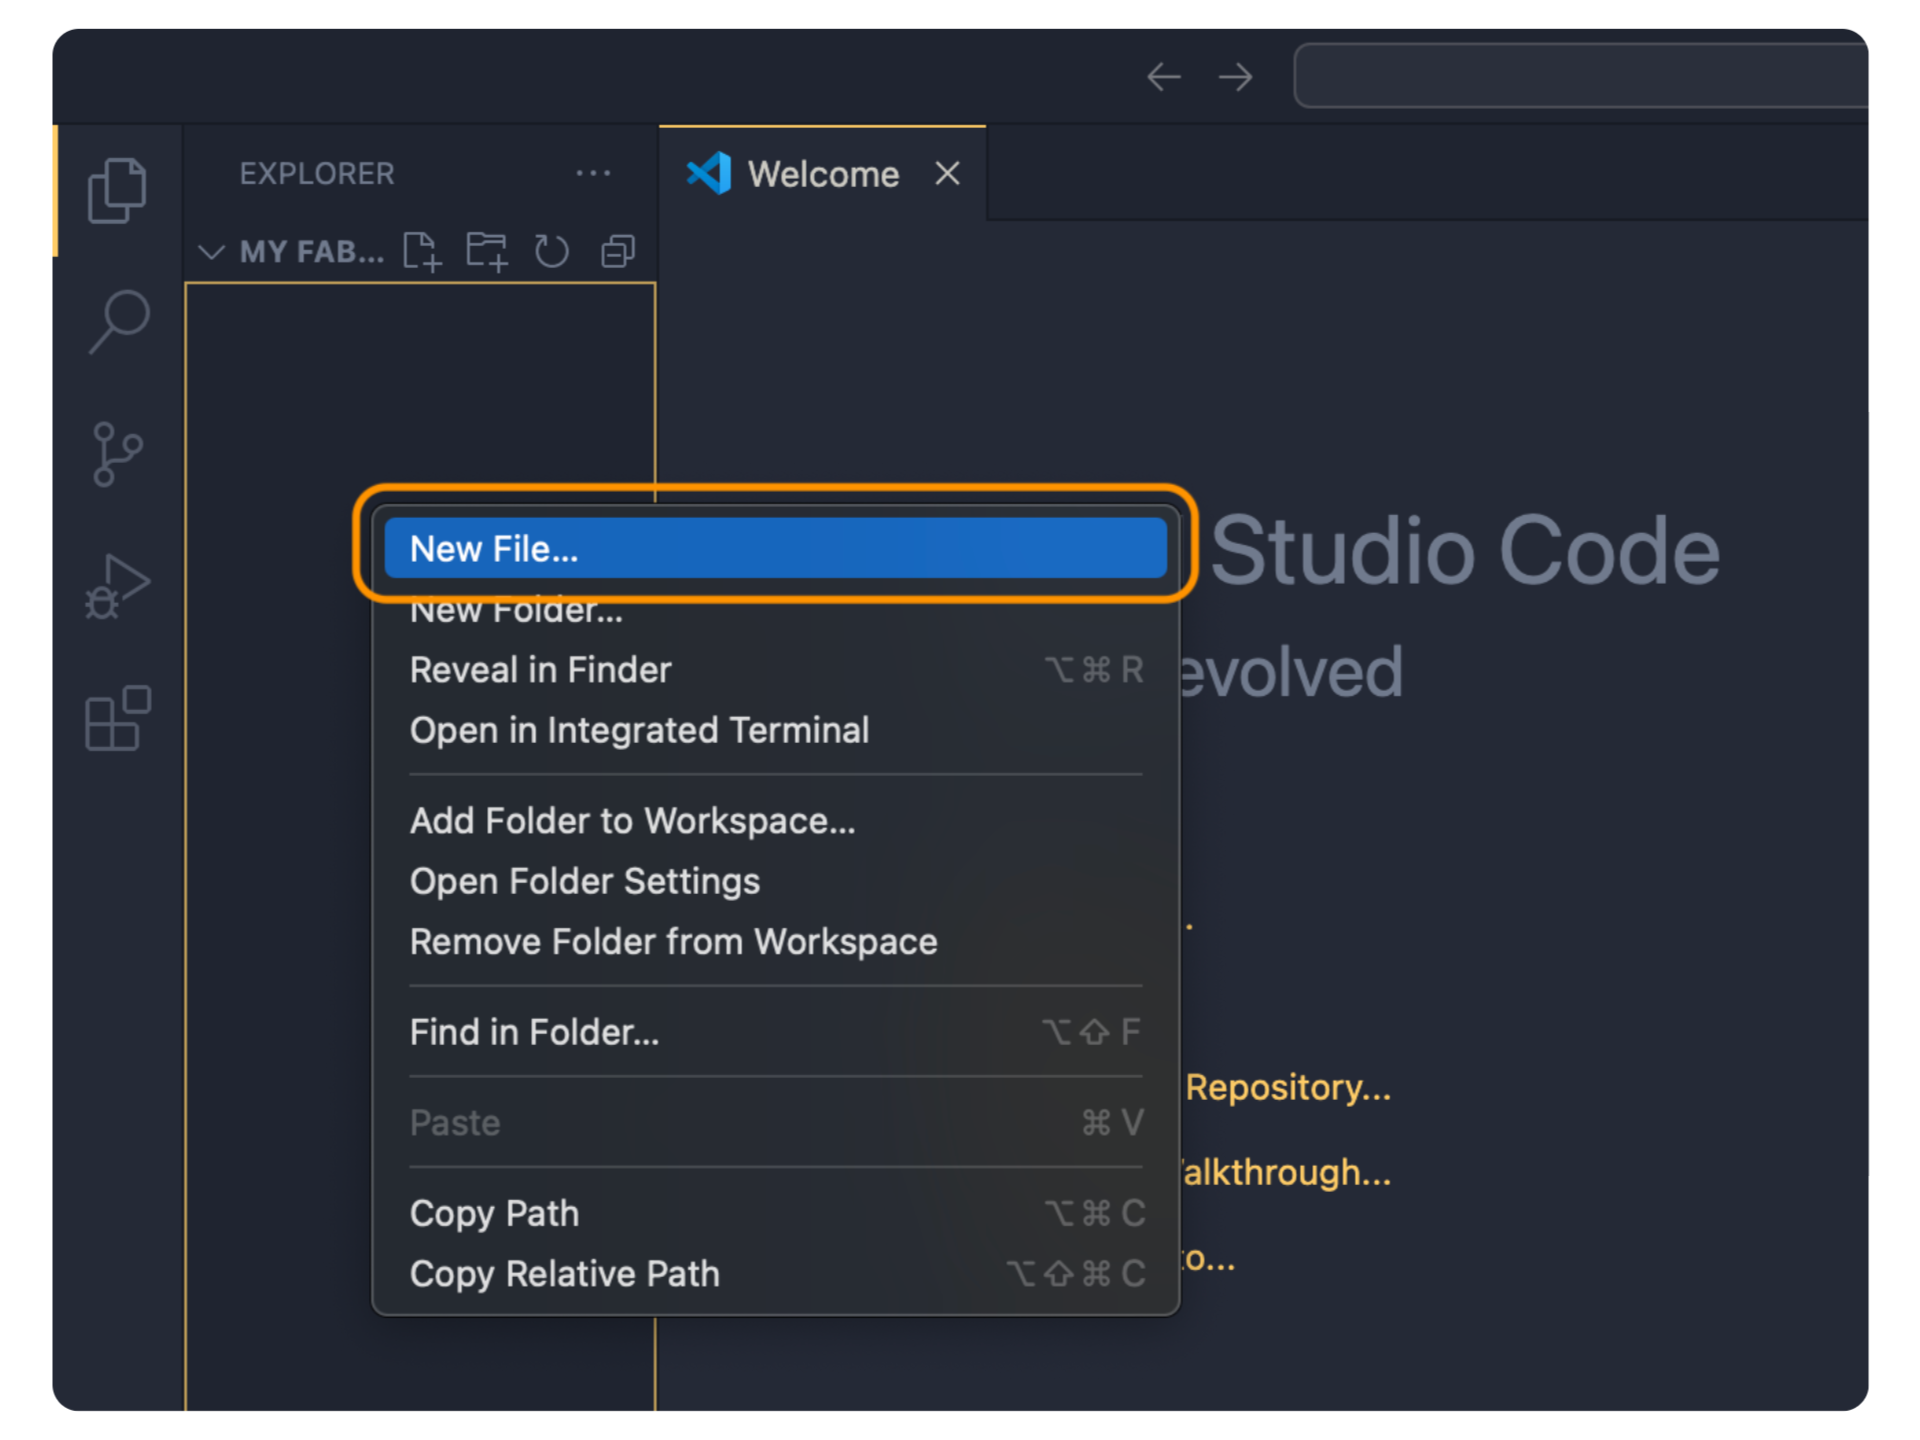
Step 5: Add your first file
- In the Explorer panel on the left side of the screen, right-click on your project folder.
- From the menu that appears, click New File.
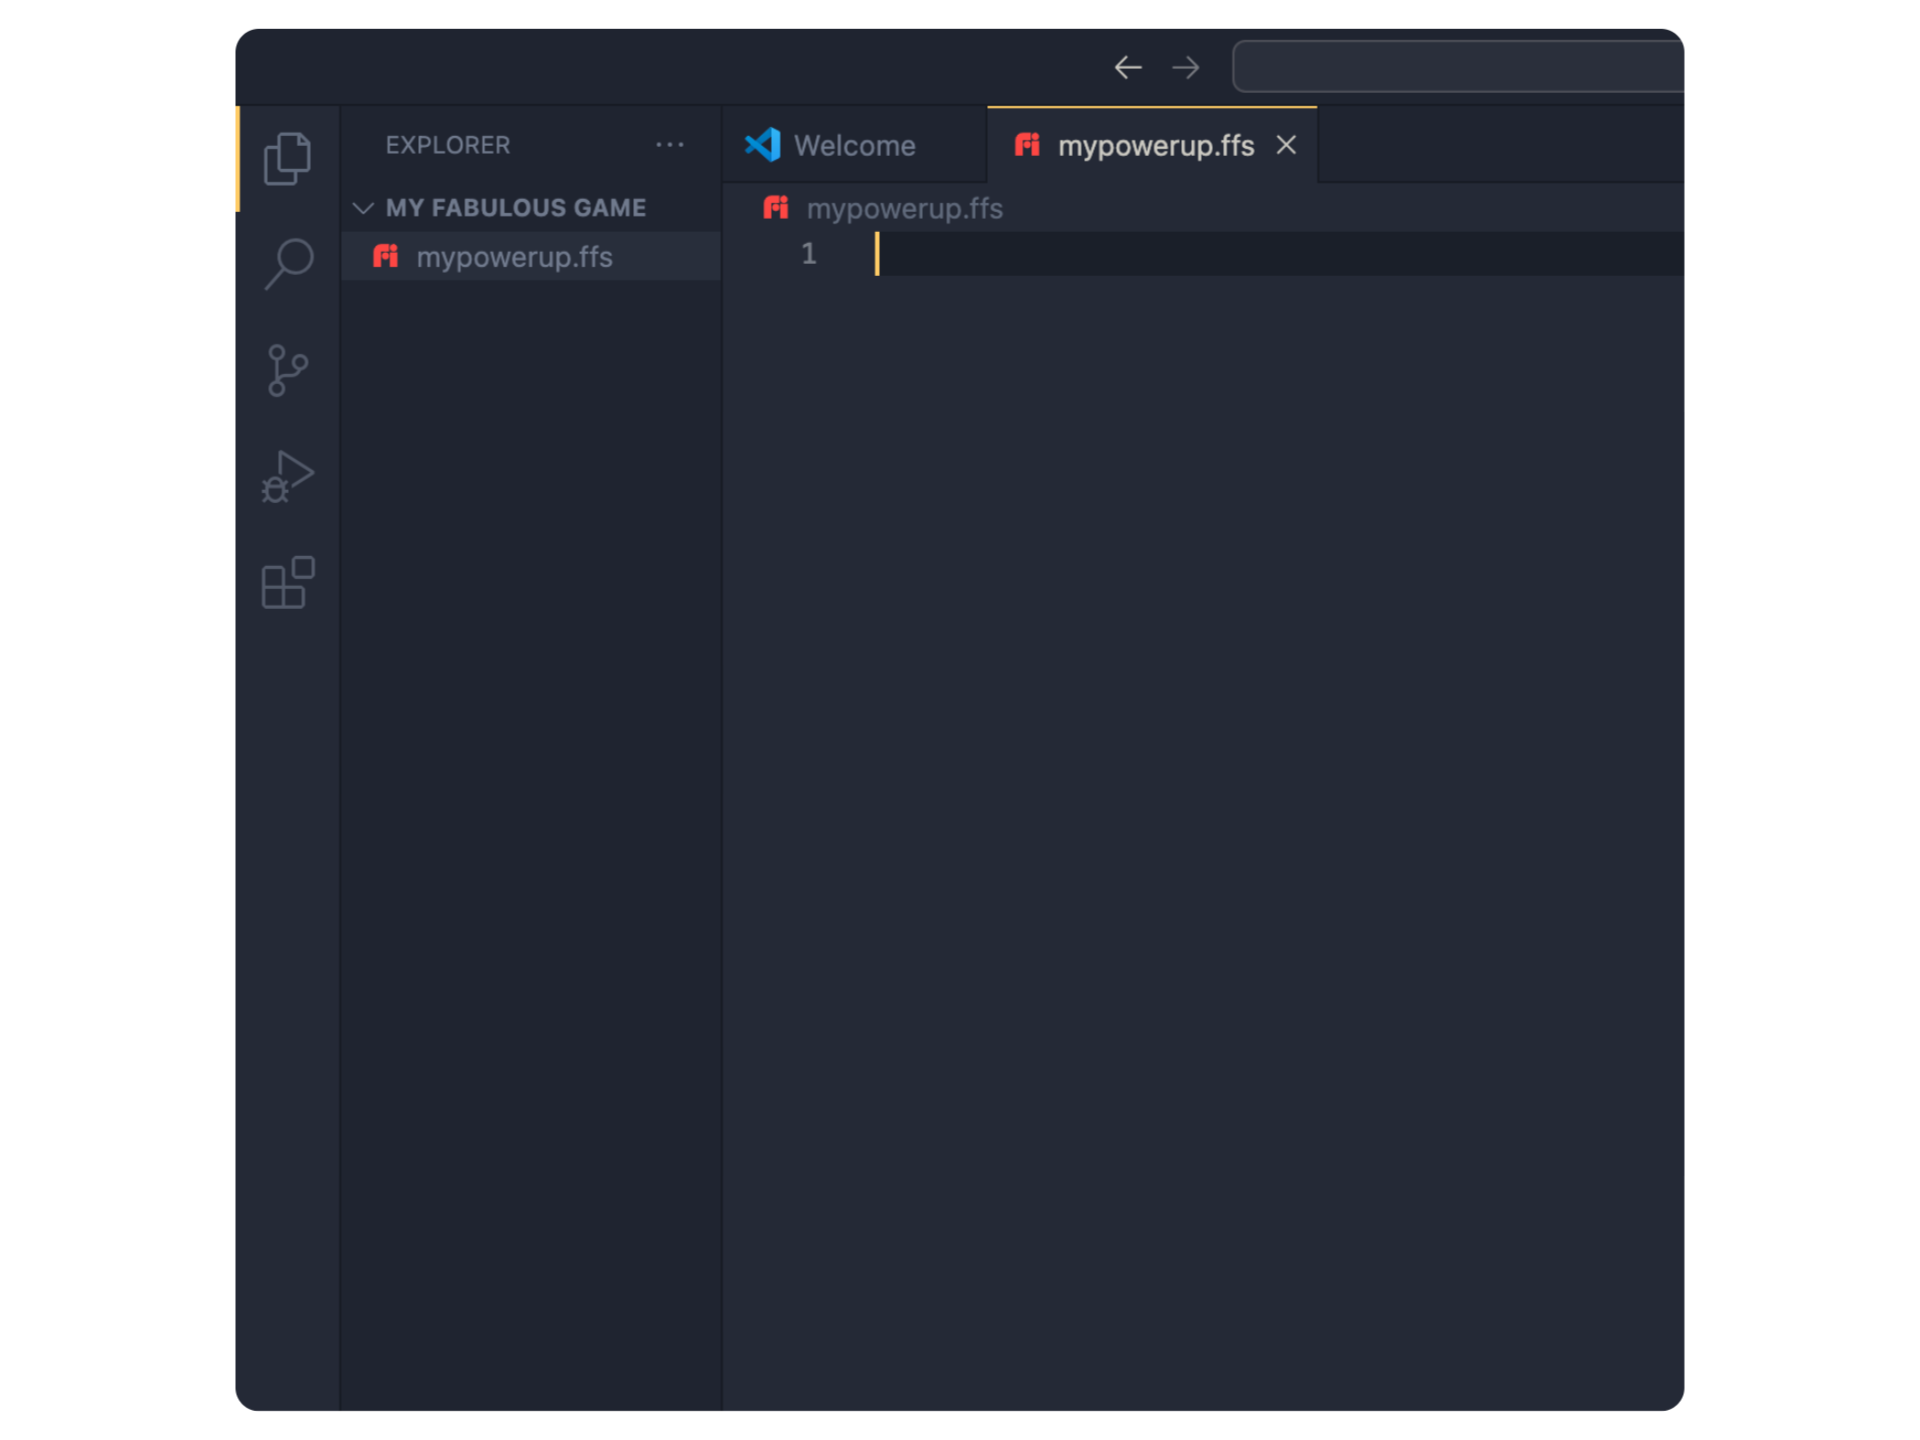
- Name your file. Important:
- Do not use spaces in file names.
- Use underscores (
_) or dashes (-) instead, if needed. - For example, name the file
powerups.ffsorMyFirstPowerUp.ffs.
- Press Enter, and the file will open in the editor.
Now it's time to sync your file to the Fiero platform.